

Square Plank Coffee Table
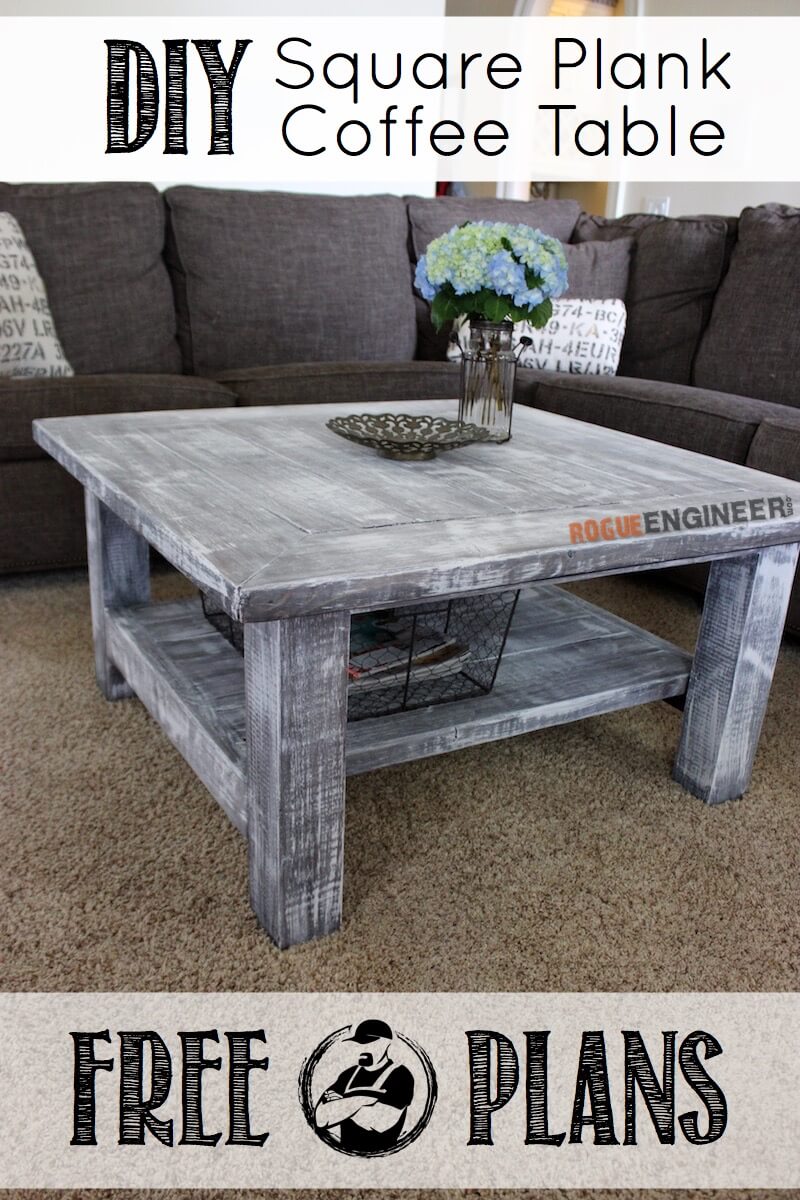
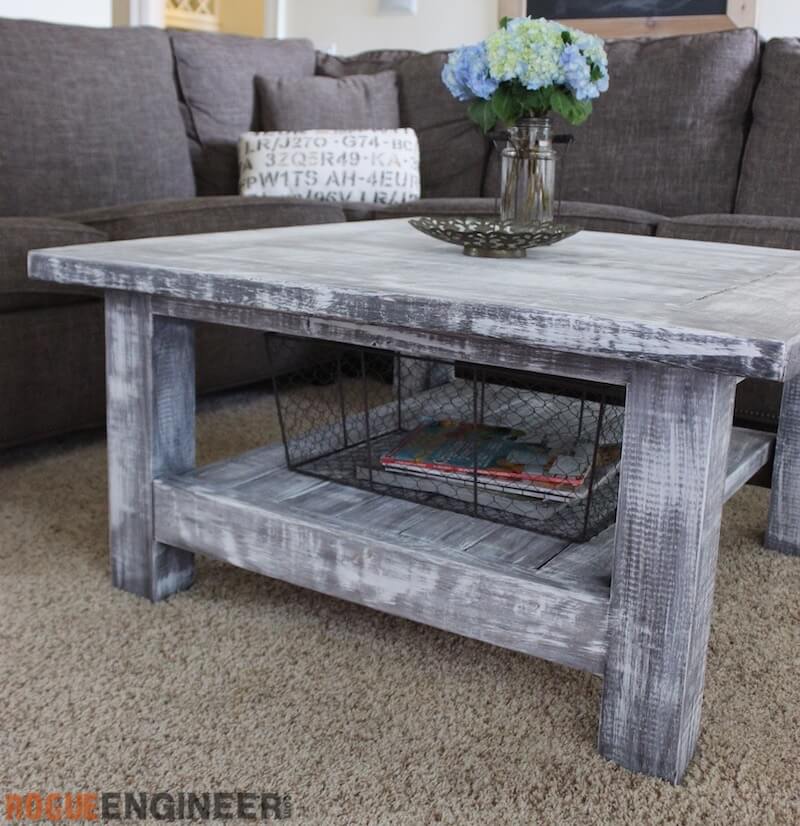
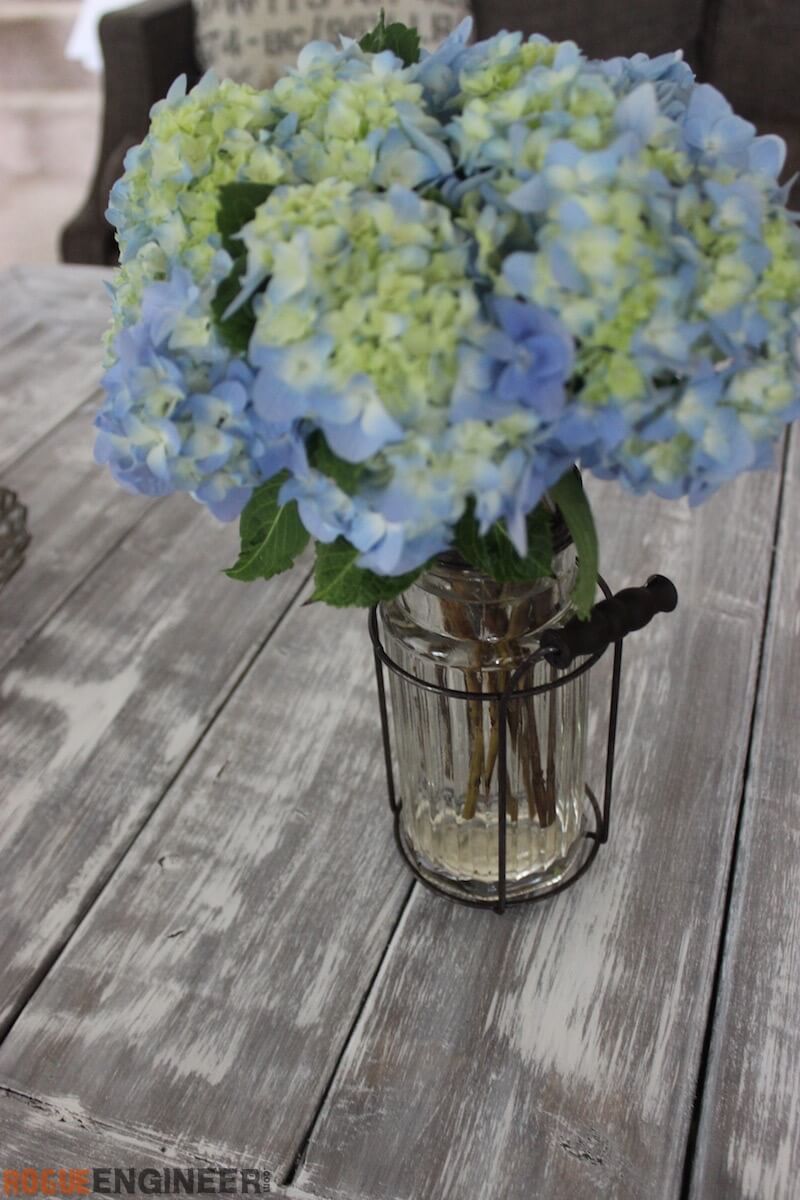
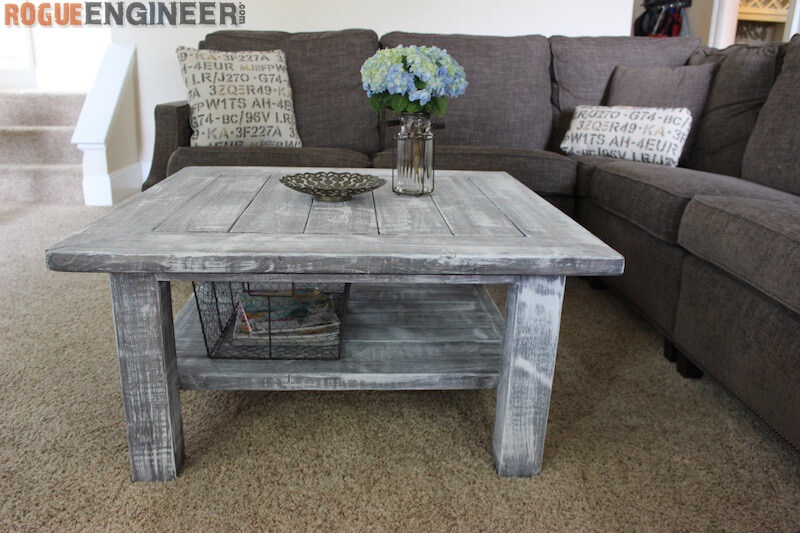
I’ve got to give my wife all the credit on this one. From design to finish, this was all her. She surprised me when she told me that she wanted to learn Sketch-Up, but even more when she actually designed a table and built it all in the same week. So here it is her first table design!
For sneak peeks of our upcoming projects be sure to follow me on Facebook and Instagram. Also, follow me on Pinterest to get tons of projects plans from all around the web!
Required Tools
Materials
- 1x 4 x 4 x 96″ Kiln Dried Lumber
- 5x 2 x 4 x 96″ Premium Studs
- 4x 2 x 6 x 96″ Premium Studs
- 2-1/2″ Kreg Pocket Hole Screws (Coarse)
- 2-1/2″ Wood Screws
Disclosure: The links provided in the “materials” and “required tools” sections are affiliate links. If you would like to support our site and help keep our content free come find out more about how we can make money with no extra cost to you.
Dimensions
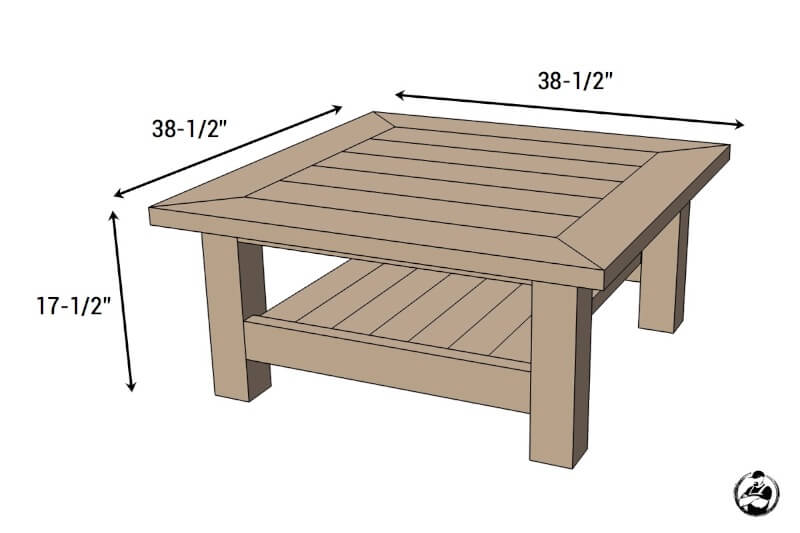
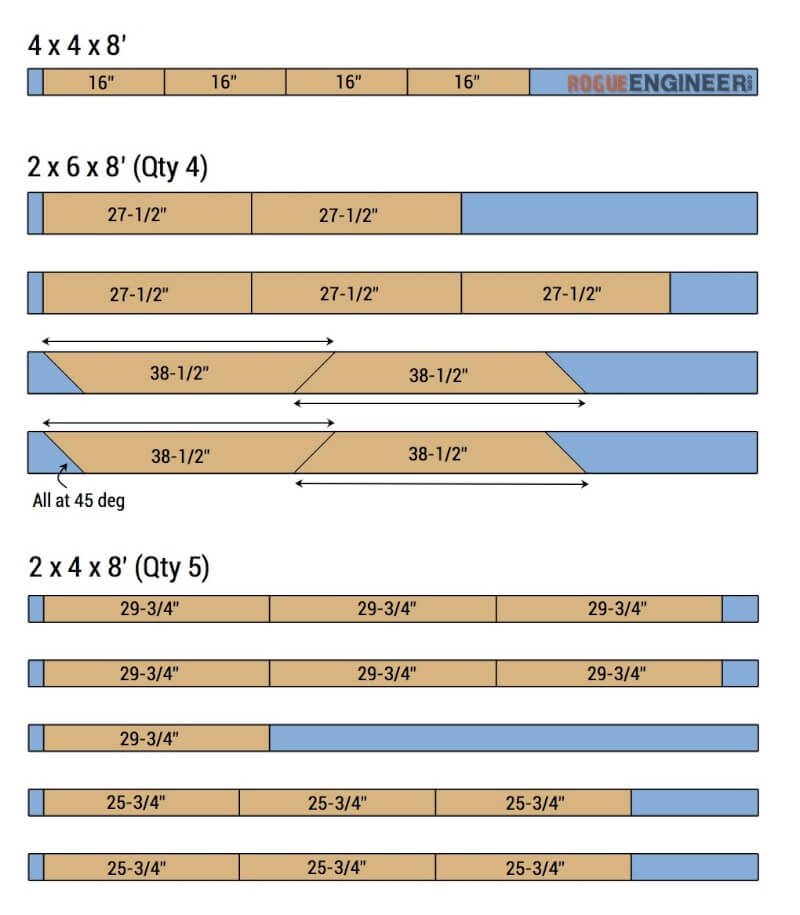
Cut List
How to build a portable lumber rack
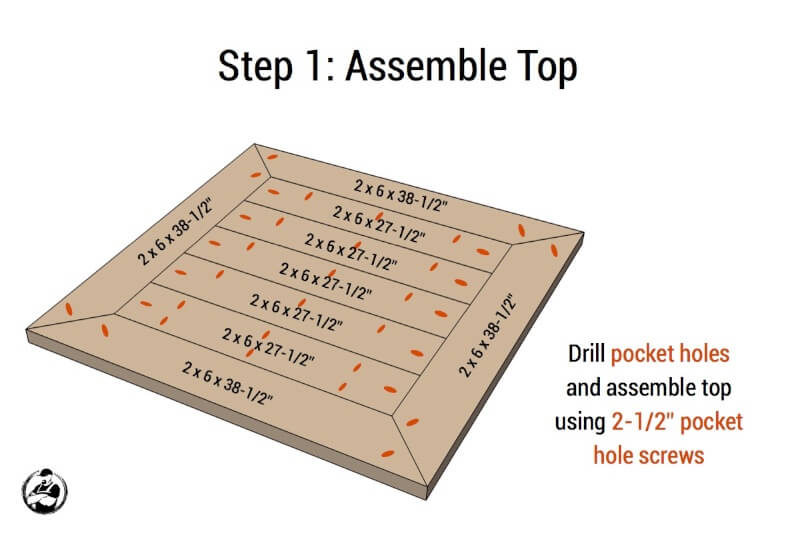
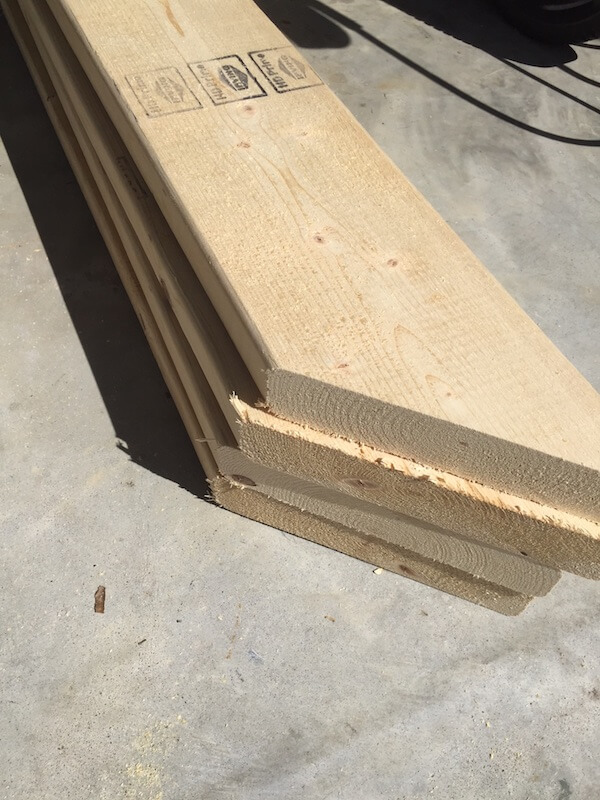
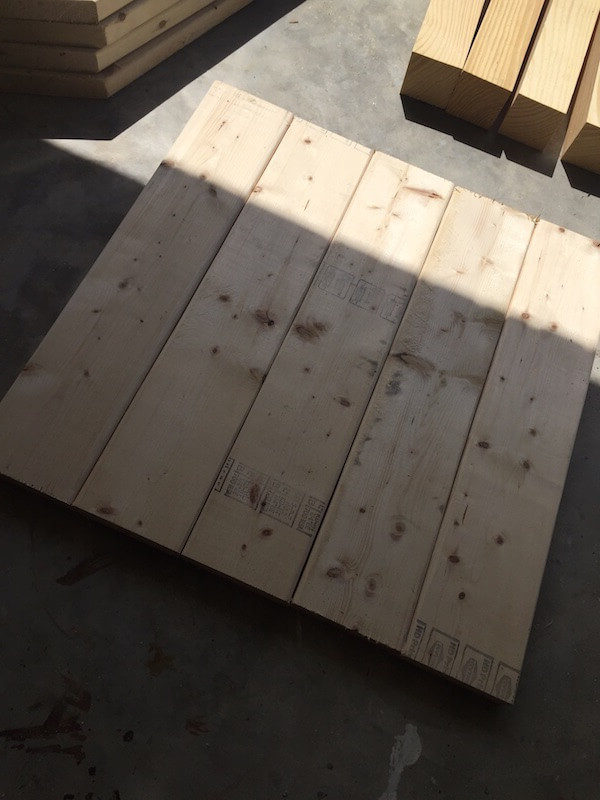
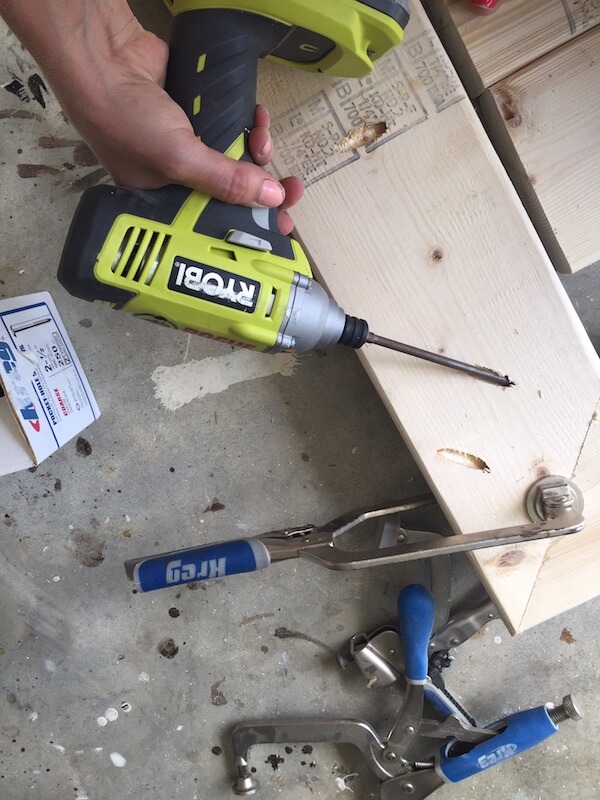
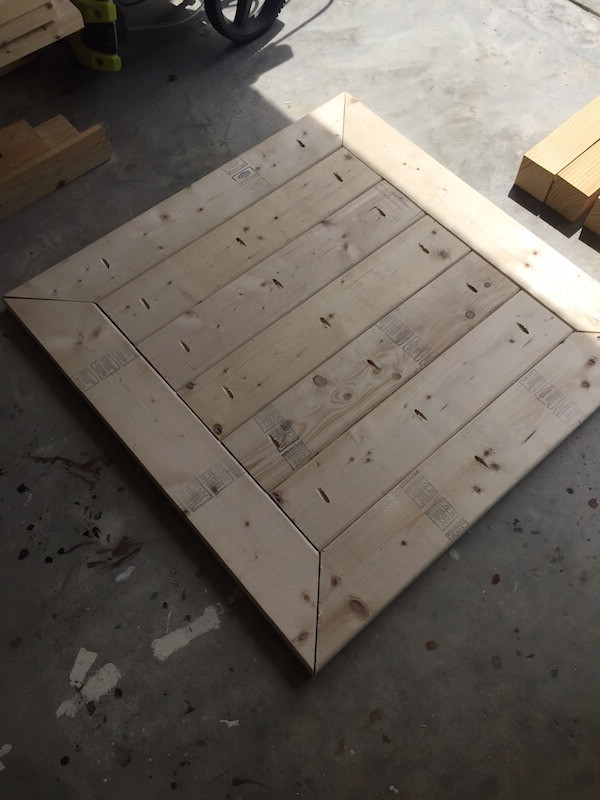
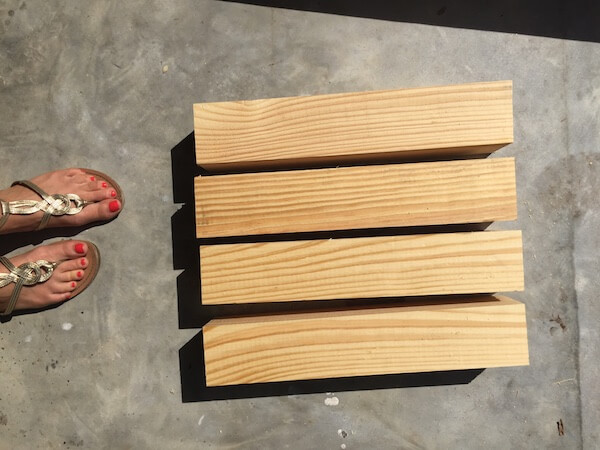
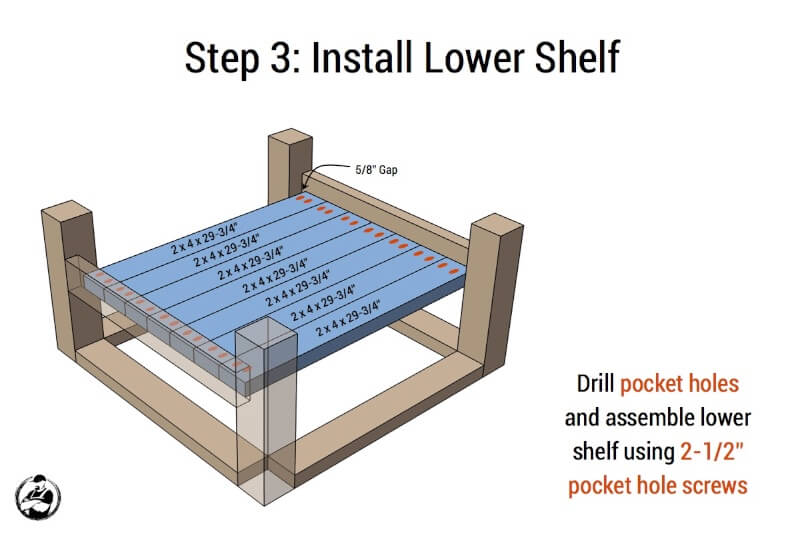
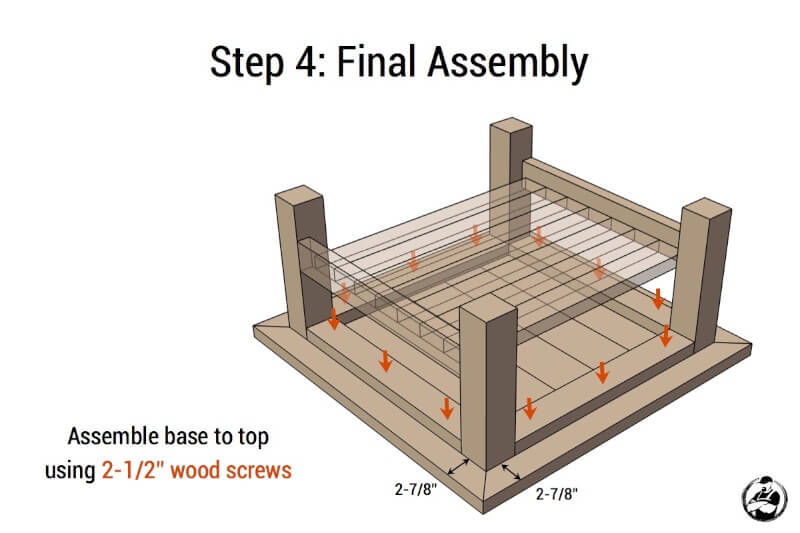
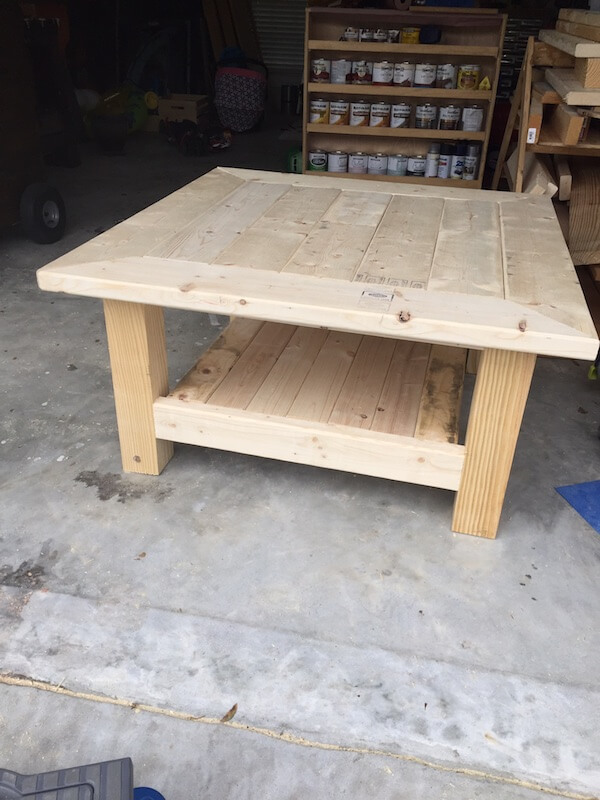
Finishing
Hey, it’s Jamie! I hope you all enjoyed my first table design and build. So, I’ll admit I completely winged the finish, but I think it turned out pretty awesome! I am going to do my best to walk you through the steps but I do promise to post a picture tutorial soon!
Step 1: Stain
For this step I used Varathane Espresso. Using a foam brush, I applied the stain let it sit for roughly 30 seconds and wiped clean with a stain rag.
Step 2: White Wash
To make the white wash mixture I used half Rust-Oleum chalk paint in linen white and half water. Mix well, and using a stain rag wipe over the surface. This will give it a grayish tone.
Step 3: Dry Brush
The last step is to dry brush over top of the white washed surface. Using a dry brush, I used the same linen white chalk paint from Rust-Oleum and dipped the tip of the brush into the paint. Getting just a little paint on the end of the brush, I then dabbed the brush onto a piece of scrap wood to take off any excess paint. Then, going with the grain of the wood, I used quick strokes. You can add more or less depending on the look you desire!
Sorry for the lack of pictures during the finish process, sometimes you just get in the zone!
Questions? Comments?
As always, if you have any questions don’t hesitate to comment below and especially don’t forget to post pictures of your finished products in the comments! ENJOY!
Super kick ass job for first time.!!
I plan to tackle this project this weekend but I’d like to extend the length (basically double the length). Would this create any structural issues? Meaning- will the table sag or bow in the middle without extra bracing? Note that I am a novice at this stuff- any direction would be appreciated.
No it shouldn’t have any structural problems if you double the length. Can’t wait to see how it turns out. Anymore questions along the way just shoot me a message and I will be happy to help the best I can.
Will do- thanks for the help Jamison.
Almost there- table top is ready for stain. Plans call for 4×4 kiln-dried wood but that’s a scarce product around here. Found a nice piece of fir wood that I plan to use but didn’t know if you had any other recommendations.
And by the way- this table when completed- will require the help of a few neighbors to carry (it’s heavy).
That looks awesome man! I actually had the same problem with the 4x4s. I went to my local lumber yard and had them cut some for me. Not sure if that’s an option for you. Another possibility would be to use two 2×4’s sandwiched together. With a table saw, you could trim 1/4″ off of each of the 1-1/2″ sides of the 2×4 to get a square edge. They would only be 3″ square but that could get you close enough. Hope that helps!
Finished product! Since this was going into the man-cave- I went with my school colors. Looks great. Won’t be long before I tackle my next project.
Thanks for the plans and the inspiration Jamison. If I could do this, anyone could.
KMac! That looks sick! Great work! Thanks for sharing.
Reattaching photo that was removed
Reattaching photo that was removed:
How do I change the cuts of wood to make the overall dimensions 28-1/2” x 28-1/2” x 17-1/2”?
Since the 2x6s are 5-1/2″ wide it would have to be 27-1/2″ square. You would have to remove two of the center planks and cut the 2x6s 11″ shorter than the plans call for. You’ll have to adjust the number of boards you use for the lower shelf as well.
Our cuts of 38.5 do not frame up?? Anyone else contact you with this issue? Husband heading to get another board. 2 cuts need to be 39.5 right?
That’s odd. That length should be the width of seven 2x6s (7 x 5.5 = 38.5″) Not sure why it’s not working for you. Maybe try measuring what you need on the short side and using that measurement.
Turns out our boards were 5.62! He adjusted the frame and it worked out. I’ll post a pic. Thanks for the plans 😉
This looks great. I’m going to try to build one as well. Where did you get your wood and what type did you use? I’m thinking of using Pine…
Thank you for the inspiration!
Thanks Kurt. The wood we used was just pine from Home Depot.
Jamison, I gotta tell you that this is the first woodworking project I have ever done and I think I may have a new past time/hobby. The table turned out awesome and the plans you drew up were insanely user friendly. Thanks for the inspiration, and you will prob be hearing from me on my next project.
Thats awesome Jim! I’m glad your first project went well and I look forward to hearing about many more!
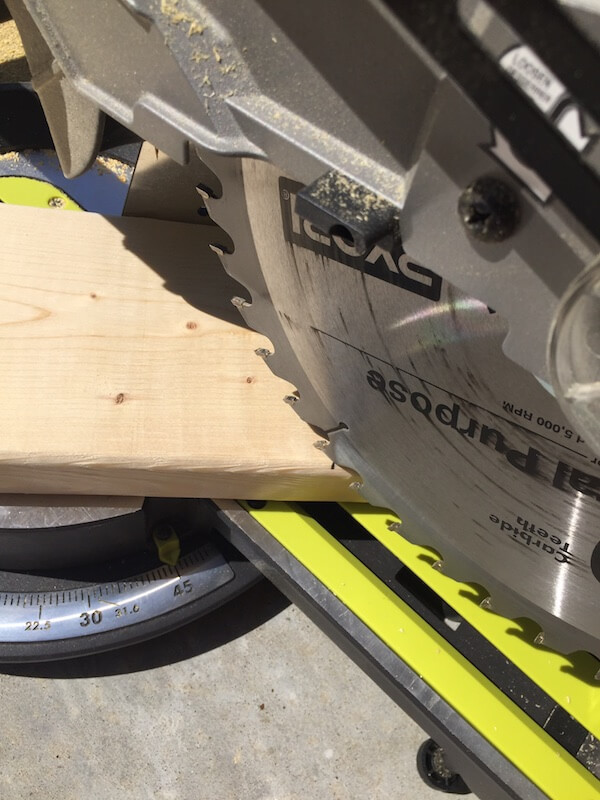
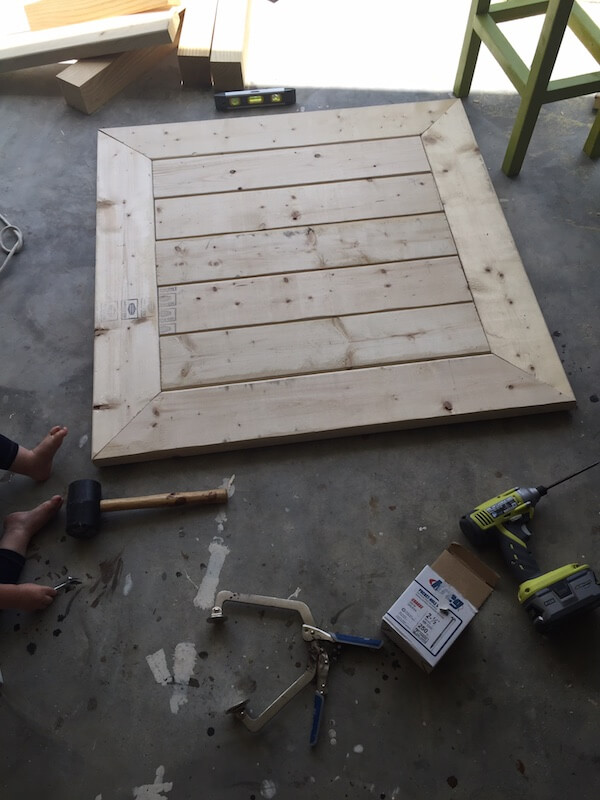
Hey I have made my cuts and lined up my corner for the 45 degree angles. The boards have a gap of a about an 1/8 of an inch on each corner, which makes for a bad finish. Do you have any tips on how to resolve this other than cutting 2 new 2×6’s again?
FYI this is my first DIY project
Welcome to the club Matt! Sorry you are having issues. To be honest, I would suggest cutting new 2x6s. It’s a cheap price to pay as I’m sure you wouldn’t be happy with any other solution. The best way to go about it next time is to measure the inside square sides and make those lengths the inside of the frame with 45 cuts on either end.
I cut the new pieces. It looks like the miter saw wasn’t squared off properly so it wasn’t a true 45 degree angle. Made it work. Thanks for the design and easy to use guide.
I like the design of this, except that it would be so heavy! I’m going to make mine rectangular, but I’m going to use 1″ wood on the top and lower shelf (just in the middle sections; I think it will still have the appearance of being 2″ thick.) Thanks for the great drawings and instructions.
Sounds good, it is a heavy table! Let me know how it turns out.
did you put a poly on yours?
No I didn’t
Did you end up cutting the 4×4 to 16″ lengths? In the finished picture it looks longer than 16″ based on the 4″ measurement from floor + 3.5″ for width of 2×4 looks less than halfway up the 16″ leg.
Finished the table. Ended up spacing the 2×4 cross pieces 2″ from the bottom of the legs to give a bigger shelf opening. Also ended up using 2×6 for the bottom shelf so the 2 outside 2x6s are cut to 4.5″ wide. We stained it with a dark walnut stain (2 coats) and a Varathane Tripele Thick clear coat.
That looks awesome Lewis! Thanks for sharing and sorry I didn’t get back to you earlier on your question but it looks like you figured it out.
I’d like to build this but with drawers instead of a shelf below… Suggestions on how to do this?
Take a look at how I did this one: https://rogueengineer.com/diy-coffee-table-with-storage/
Hopefully that can give you some inspiration.
Take a look at how I did this one: http://rogueengineer.com/di…Hopefully that can give you some inspiration.
Hey Jamison,
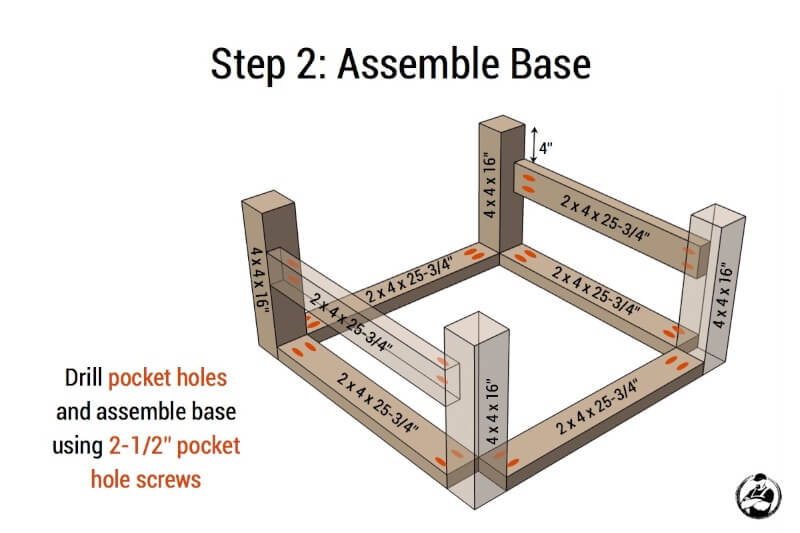
First, thanks for the great plans. I am almost done though I ran into a small issue. When installing the lower shelf I noticed the pocket screws were too long. They went straight through the other side of the lumber it was to attach to. I was using the 2 1/2 screws you mentioned. It looks like I should have been using a 1 1/2 or a 1 3/4 screw. Any ideas why the 2 1/2 screw was not working out?
Took a little longer than planned due to the cold weather but I finally finished it. I used the Varathane “Ash” stain with a Minwax satin poly finish.
Thanks for the great plans. Do you have any plans for a futon frame in the works? Just a little wishful thinking on my part.
Crap man, sorry I missed you original comment but it looks like you figured it out. I love the table and the color, thanks for sharing that.
Unfortunately, I don’t have futon plans in the works however it’s probably something I need to add to the collection so I’ll add it to the list of potential future projects. Thanks
Thank you very much for the table plans .. Super helpful
This tuned out great! Thanks for sharing!
Would you happen to have any large dinning room table plans ?
Hey Gary! We have a few dining room table plans in the “kitchen” section of our blog. Be sure to check it out.
Hey Gary! We have a few dining room table plans in the “dining tables” section of our blog. Be sure to check it out.
Where do you typically find your 4×4’s? I have trouble finding them at Home Depot or Lowes. Any help would be great. Thanks.
Select lowes and HDs have them. Mainly in bigger cities. I’ve gotten mine from a local lumber mill. You can try searching for one in your area.
Hey there I had a question about the stain technique. So I’m gonna wipe the stain off after 30secs. How long do I let it dry before I apply the rustoleum chalked paint? And what does the espresso varathane really do?
Give the stain a couple hrs to dry completely before paint. The stain will darken up the wood and since the paint would entirely cover the surface it will show though a little bit. Thats just to get rid of that new, raw wood look and make it look a bit older.
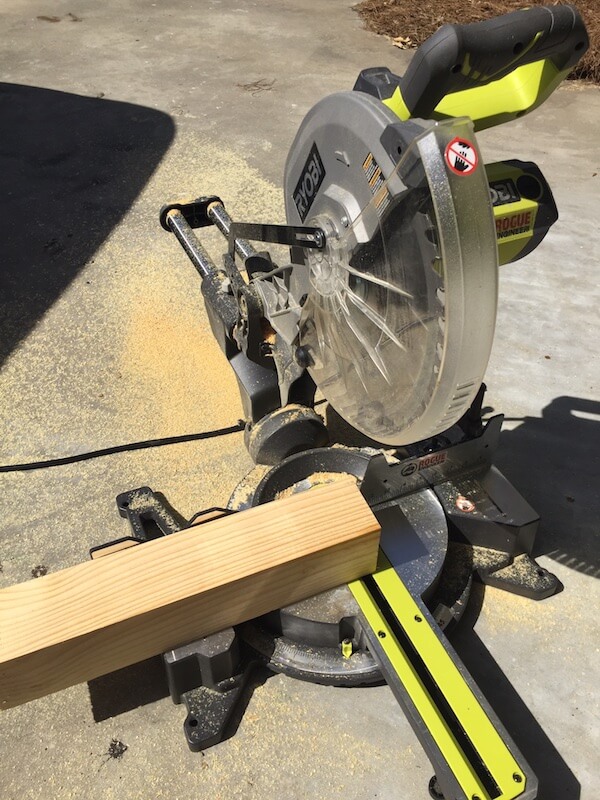
Thanks for the plans! This was my first time building anything, and your plans were very easy to follow. I didn’t have access to a miter saw though, so I had to make a circular saw work. Some of the joints could probably be a little tighter, but overall I think it turned out fine. Thanks again!
Thats awesome! Great work and welcome to the club.
Thank you for the plans, my first build.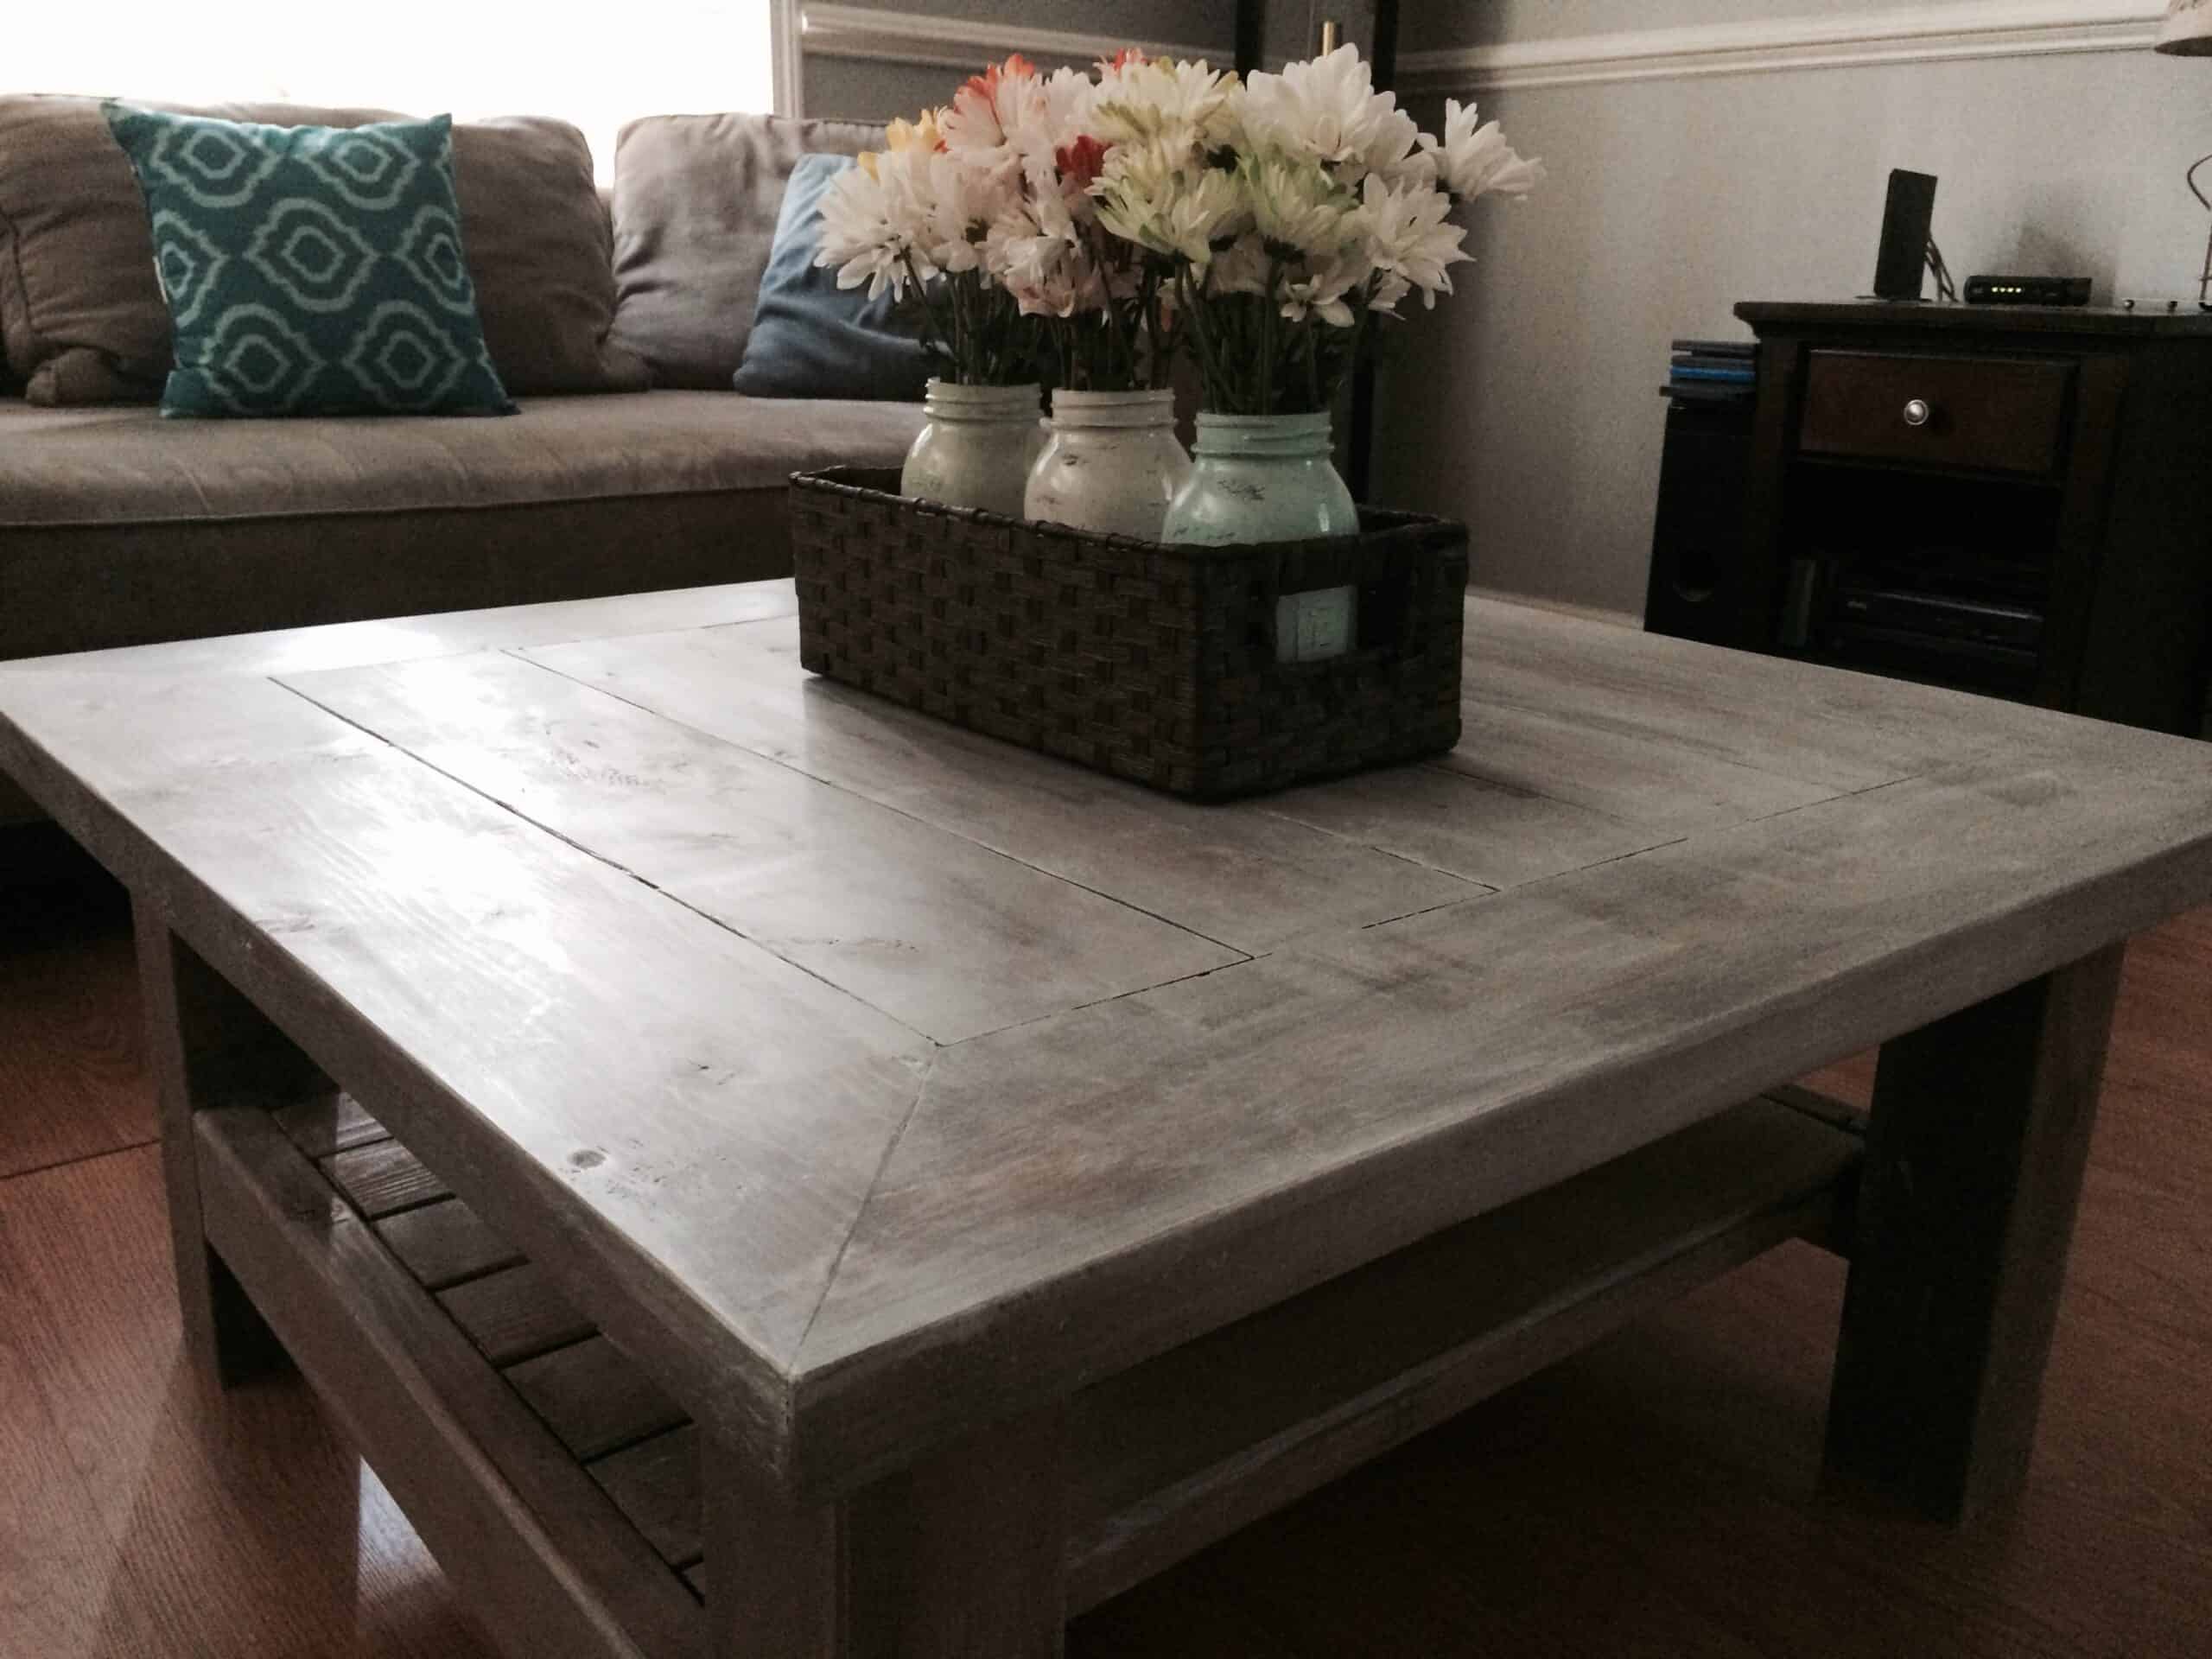
Another pic.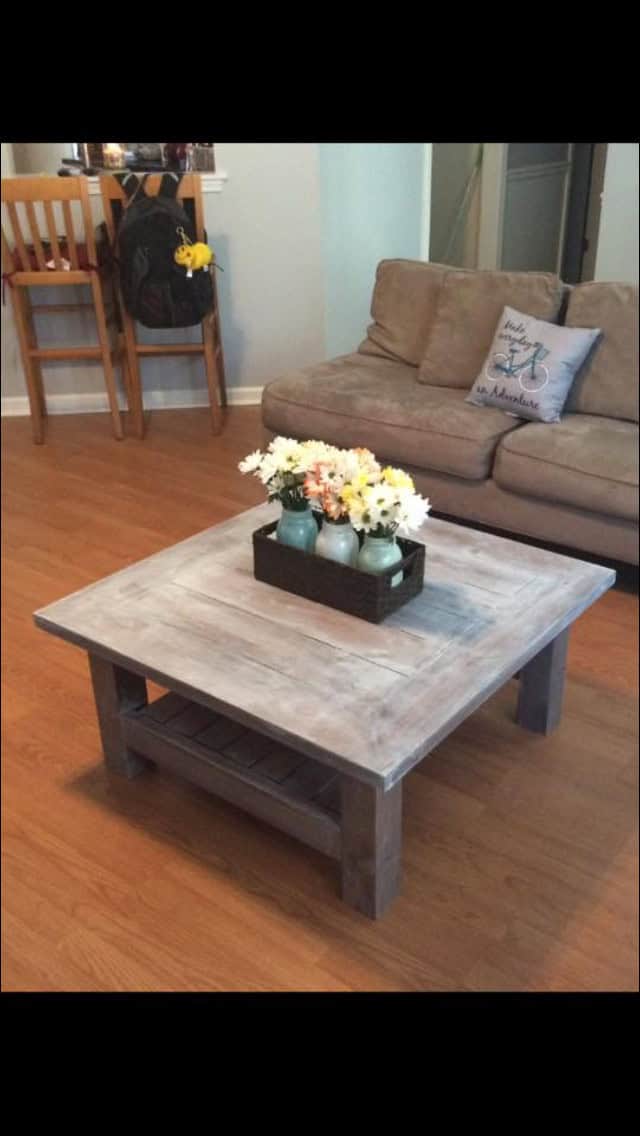
thank you for the plans!! Going to try and make a couple of end tables in this style as well.
Thanks for the plans and idea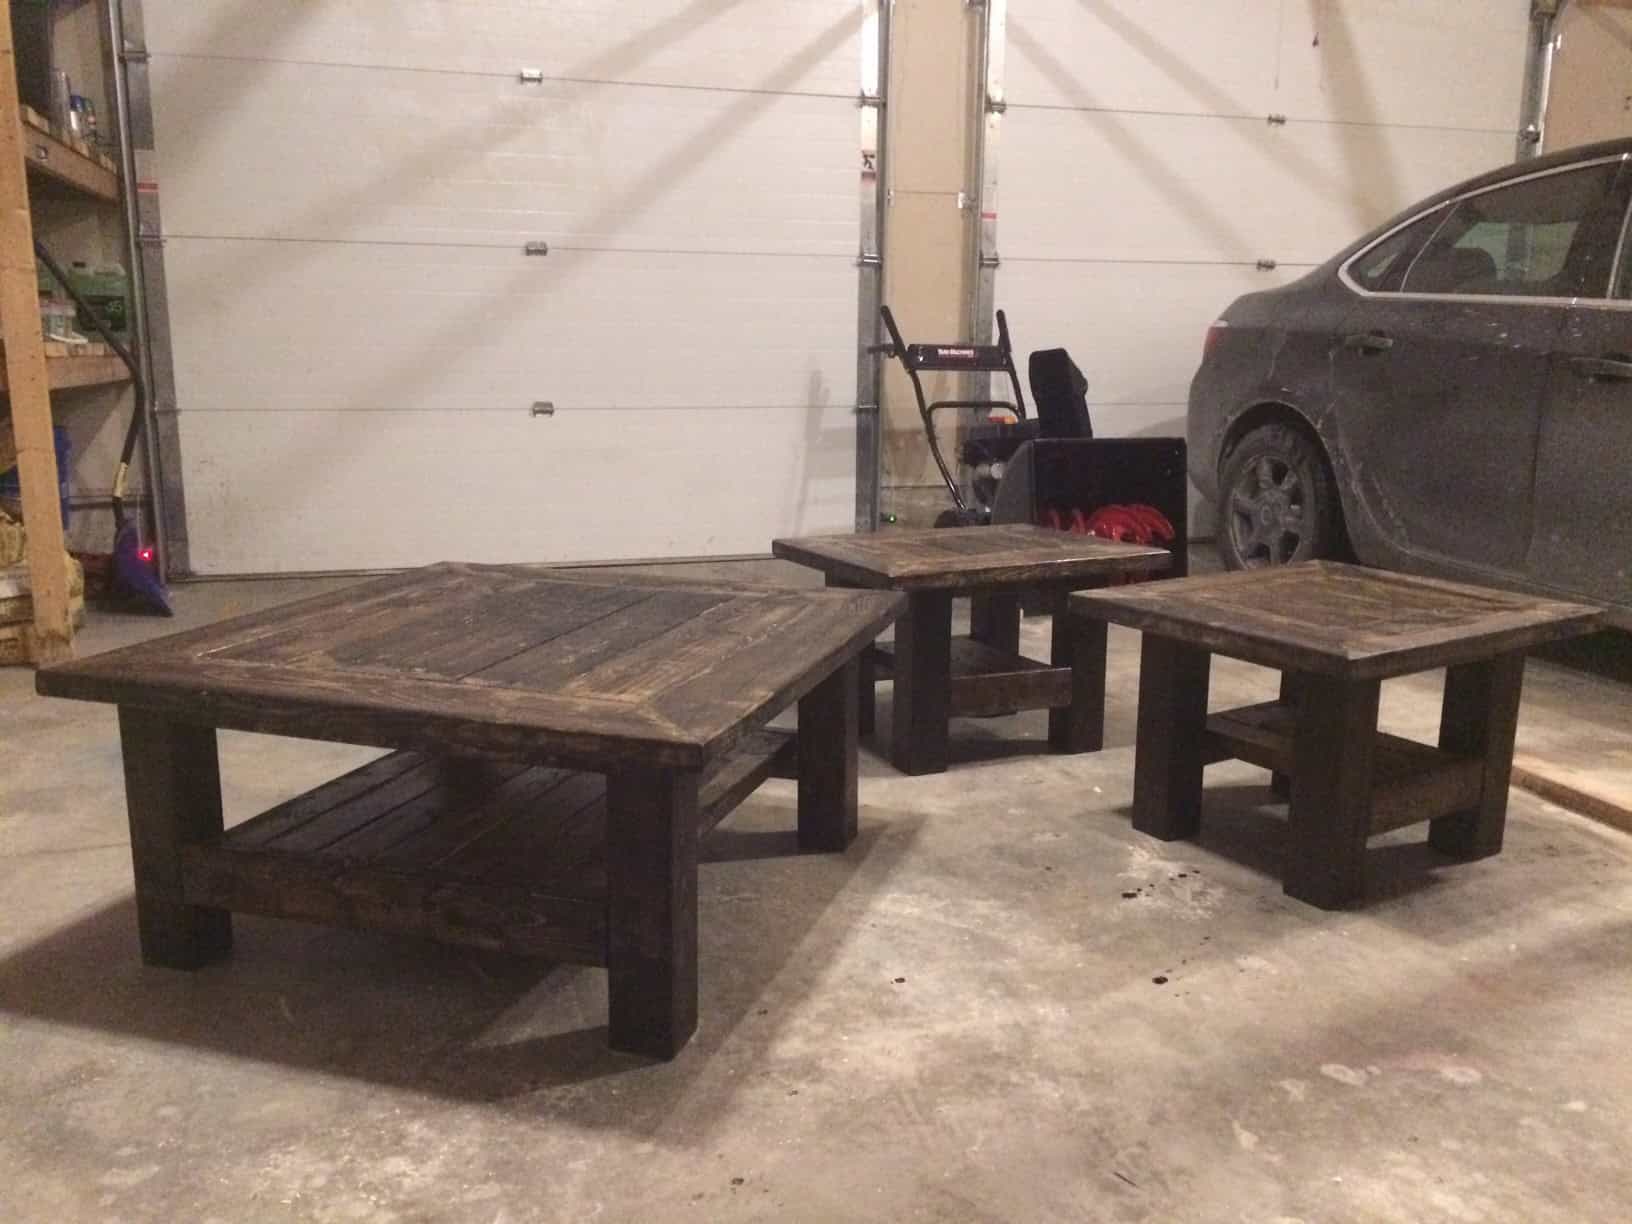
Note self: Never hand saw multiple 45 degree angles.
Hello, I am looking to do a kitchen table with stools hiding under it with the same top style. Do you have anything similar to that or any advise? Thank you 😀
tooo freakin’ cute!! and so affordable too. well done 🙂
Is there somewhere I can download a pdf of these plans? Table is beautiful!
Hey Jamison,
First, thanks for the great plans. I am almost done though I ran into a small issue. When installing the lower shelf I noticed the pocket screws were too long. They went straight through the other side of the lumber it was to attach to. I was using the 2 1/2 screws you mentioned. It looks like I should have been using a 1 1/2 or a 1 3/4 screw. Any ideas why the 2 1/2 screw was not working out?
Update: I realize what I did wrong. I mistakenly set my Kreg Jig Jr slider to 1 1/4 inch instead of 1 1/2 leaving the pocket holes closer to the edge. With that being said, since these aren’t structural pieces can I get away with using the shorter screw to attach them? Say, the 2 inch screw?
Thanks!
https://uploads.disquscdn.c… https://uploads.disquscdn.c… We LOVE our new coffee table. It was very easy to follow the directions. We would love a TV console to match it. Do you have a plan similar but for some sort of TV console?
For the life of me – I can’t figure out where/how to download the plans. I’ve installed two advertised programs and still can’t find them. Is there a “Click Here to Download Free Plans” button that I’m overlooking??
Hi Jamison,
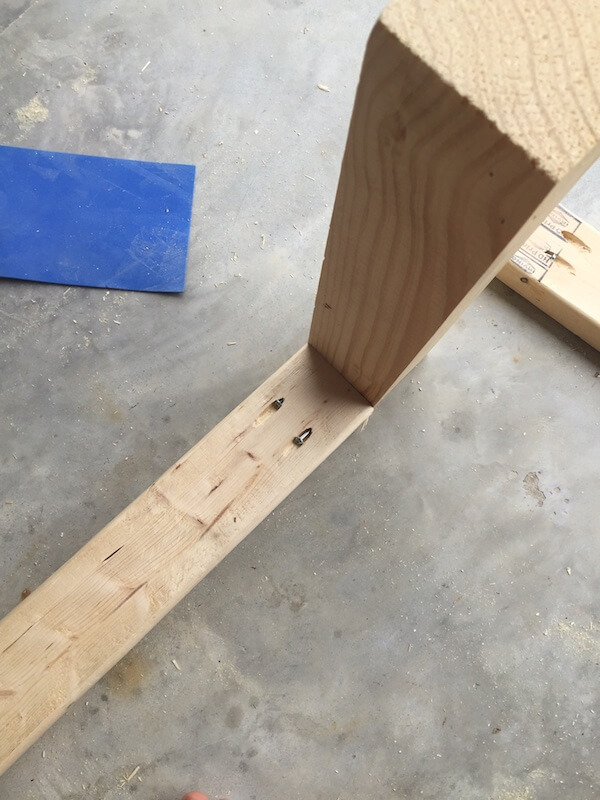
I just started working on projects like this, started w/your rustic side table and it turned out awesome! Just completed the simple workbench and want to tackle this table next. Quick question: Can you please describe the technique you would use to attached the legs as in your picture? I see you putting the pocket hole screws in but how do you keep the joint tight without being able to clamp it?
(the last picture prior to step 3, the leg is vertical).
Thank you!
Where can I download the plans?
Hi! My husband made our coffee table a while ago and someone wants him to make them one, just the raw table, no paint/stain. What would you charge? Never made something for someone else to purchase before.
Brilliant design. Thanks for sharing the recipe! https://uploads.disquscdn.c…
Thank you for the guidance, I changed it up a bit but it all started with your instructions…. Thank you again. https://uploads.disquscdn.c… https://uploads.disquscdn.c…
https://uploads.disquscdn.c… https://uploads.disquscdn.c… Great plans! Easy to follow, nice finished product.
I am horrible with math. I like this table but in order for it to fit in my living room with my particular couch, it would need to be 32×32. Is there anyone out there that can do the math and help me out with the proper dimensions for the reduced size?
I am not seeing where to download the plans from?
Jamison, do you remember if you glued all the joints or just pocket hole screws?
This was the first piece of furniture I every built on my woodworking journey 3.5 years ago, and I just came back here to tell everyone to use glue. The screws alone around enough to combat wood movement and the table is pulling itself apart. I just didn’t know any better at the time.
Don’t you worry about the wood expanding and contracting, and causing problems with the perpendicular boards?
your website needs more ads.. /s
Good plans! Note to others: use cation with the corners as if they don’t match up perfectly, you’ll end up with gaps inside the table. https://uploads.disquscdn.c…